Zend Server Installation
These are the instructions for installing Zend Server Community Edition. There’s a pre-requisite that you install Java on your computer. It requires the jvm.dll library, which is covered in the instructions.
You can download the Java JRE or JDK and install it first. Then, you can go to Zend Corporation and download the Zend Server Community Edition.
Zend Server Community Edition Installation ↓
This section provides you with screen shots and instructions for installing a local copy of the Zend Server Community Edition. By the way, it also comes configured to support MySQL out of the box. The The Oracle connection changes with the new Zend Server. Instead of using the TNS alias from the tnsnames.ora file, you use localhost/XE.
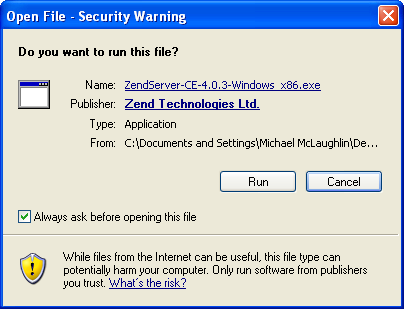
- Download the Zend Server Community Edition
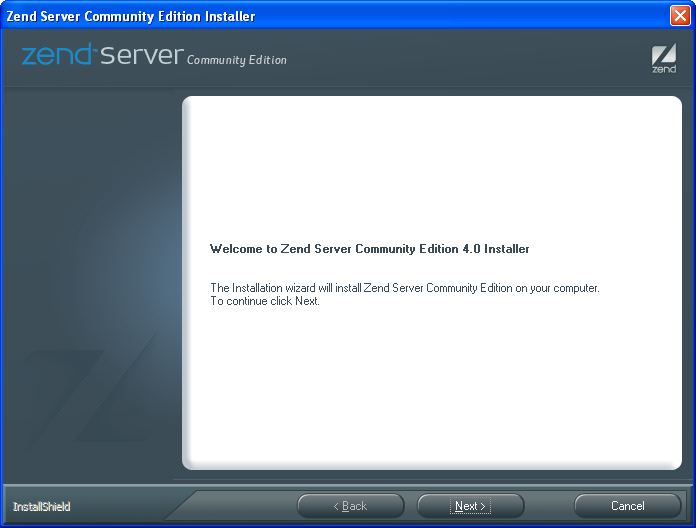
- This is the welcome page to Zend Server Community Edition. Click Next to install it.
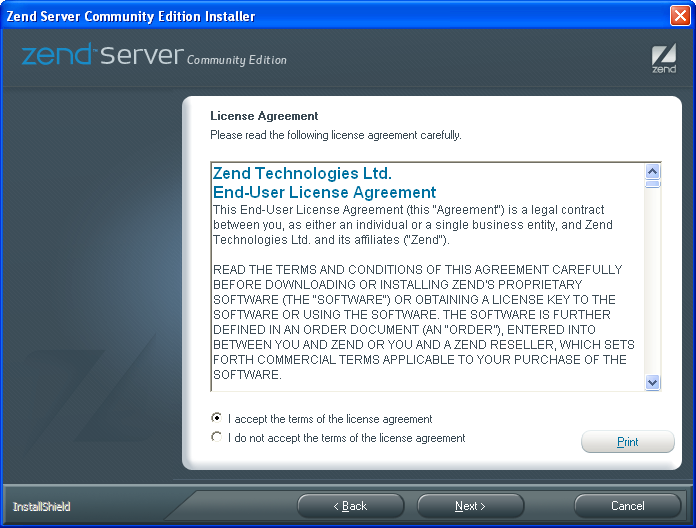
- This is the license information for Zend Server Community Edition. Click Next to continue the installation.
- This gives you options about which type of installation you want. I’d recommend that you choose Full provided you don’t have MySQL already installed, but it’s your choice. If MySQL is already installed, choose Custom unless you like to manually clean up registry keys. When you make it, click the Next button to continue.
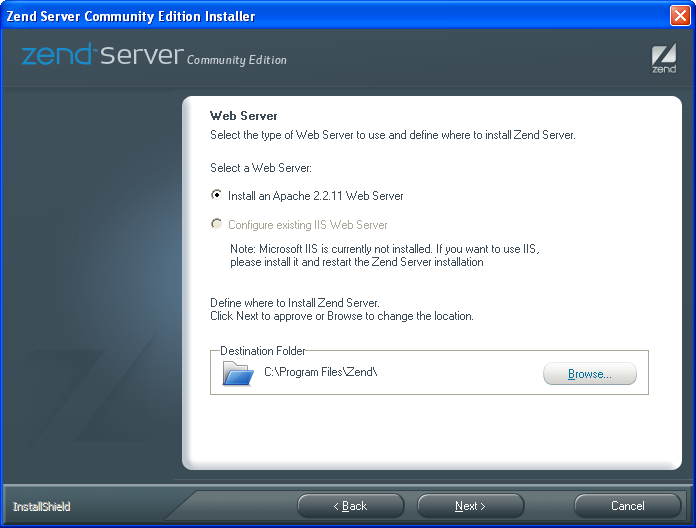
- This lets you choose to install an Apache server if you don’t have one installed, you must do that. Click the Next button to continue.
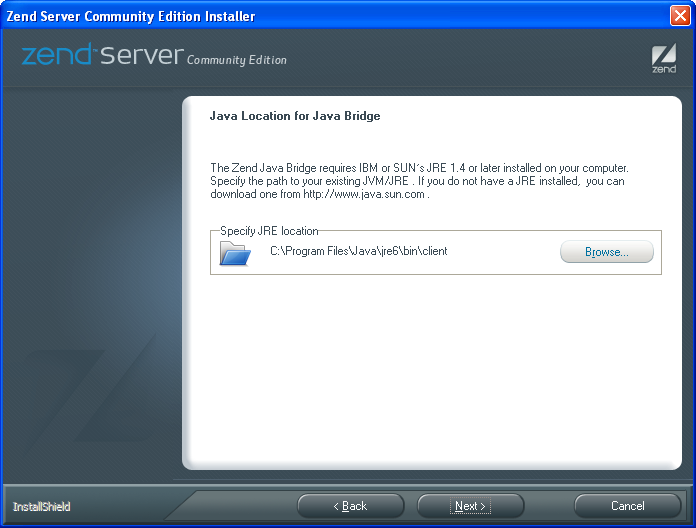
- This is where you need to point the installation to your
jvm.dllfile. Java 6 on Windows is here:C:\Program Files\Java\jre6\bin\client. If you’re looking atC:\Program Files\Java\jre6\bin\server, you’re most likely looking at a JRE 64-bitjvm.dll. If you’re on Windows x64, you need to point to:C:\Program Files\Java (x86)\jre6\bin\client. This is because Zend Server Community Edition is a 32-bit application, and the Java Bridge depends on a 32-bit JVM. Click the Next button to continue the install.
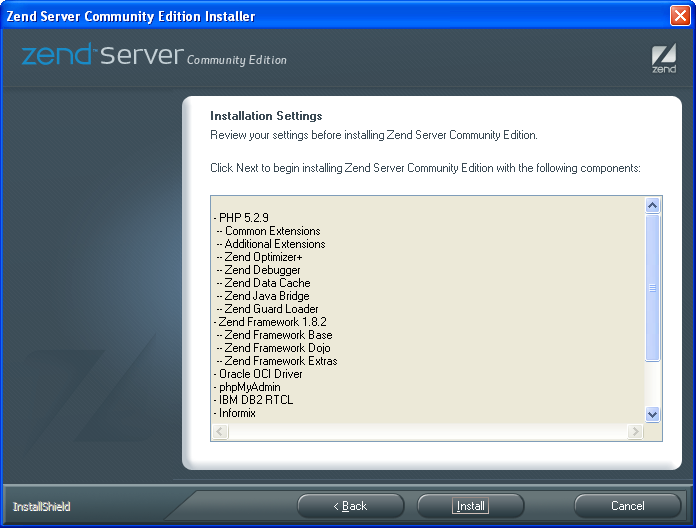
- This screen tells you what you’re installing, all means a lot and if it’s more than you want backup and chose Custom. Click the Install button when you’re ready.
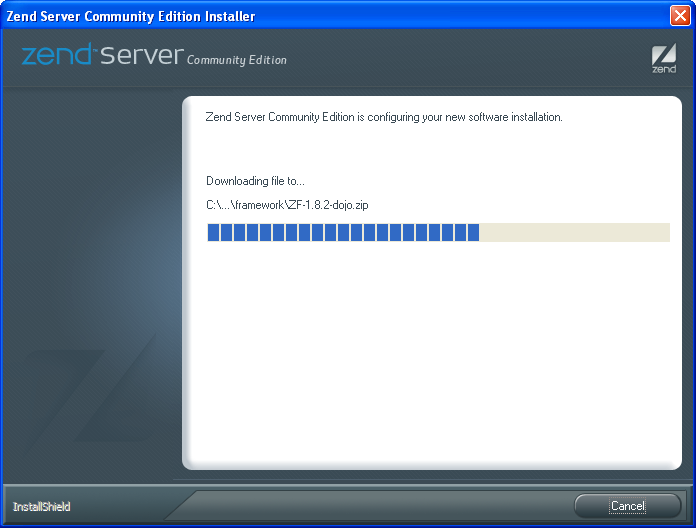
- The installation took about 5 minutes in my virtual machine. You can stretch your legs or catch up on twitter. There’s nothing on this dialog for you to do because it’ll automatically shift to another when complete.
- You’re done now. I unchecked the Desktop because they’re clutter to me. Click the Finish button to launch the new console, which is really sharp.
Verify Installation of PHP ↓
This section shows you how to verify that PHP works inside your local Apache server.
- You confirm that your Apache server is working on your local machine by typing in the following URL, which will display the image below the URL.
![]()
![]()
- After you’ve installed Zend Core for Oracle and confirmed the Apache HTTP server is running, you need to know how to use it. One of the most important things to know for a novice, is where do I put the files so that the Apache web server can find them. You put them in the Apache document root, which is defined in the
httpd.conffile. The default location is:
![]()
- Write a PHP test program. The traditional test program consist of the following:
1 2 3 4 5 6 7 8 | <html> <head> <title>My Installation Confirmation Page</title> </head> <body> <?php phpInfo(); ?> </body> </html> |
- Save the file in your document root, or
htdocsfolder as thephpInfo.phpfile.
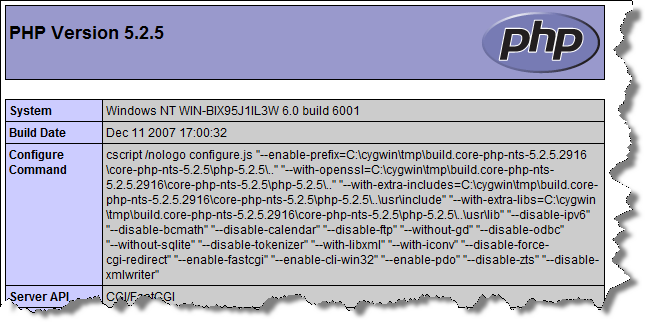
- You can test whether program works by using the following URL in your browser. The full image represented by the cutout will appear in your browser. This confirms PHP is installed and configured in your Apache server.
![]()
Verify Oracle Connection with PHP ↓
This section shows you how to verify that you can connect to an Oracle database by using PHP.
- If you skipped the prior section, you need to know where to put your files so that the Apache web server can find them. You put them in the Apache document root, which is defined in the
httpd.conffile. The default location is:
![]()
- You write the following PHP file to confirm that you can connect to an Oracle database. You should note that this is a change from the old connection with Zend Core for Oracle, or a generic download of PHP. The TNS alias is no longer valid by itself, because the Zend Server creates a connection pool, and routes you through that pool. You can read more about it here.
1 2 3 4 5 6 7 8 9 10 11 12 13 14 15 16 17 18 19 | <html> <head> <title>My Oracle Connection Confirmation Page</title> </head> <body> <?php // Attempt to connect to your database. $c = @oci_connect("student", "student", "localhost/xe"); if (!$c) { print "Sorry! The connection to the database failed. Please try again later."; die(); } else { print "Congrats! You've connected to an Oracle database!"; oci_close($c); } ?> </body> </html> |
You may try to work around it by putting a fully qualified TNS string into a variable, like the following example. However, it’ll route through the connection pool.
1 2 3 4 5 6 7 8 9 10 11 12 13 14 15 16 17 18 19 20 21 22 | <html> <head> <title>My Oracle Connection Confirmation Page</title> </head> <body> <?php // Create a TNS entry in the local program. $tns = "(DESCRIPTION = (ADDRESS=(PROTOCOL = TCP)(HOST = mclaughlinxp32)(PORT = 1521)) (CONNECT_DATA=(SERVER = DEDICATED)(SERVICE_NAME = XE)))"; // Attempt to connect to your database. $c = @oci_connect("student", "student", $tns); if (!$c) { print "Sorry! The connection to the database failed. Please try again later."; die(); } else { print "Congrats! You've connected to an Oracle database!"; oci_close($c); } ?> |
- Save the file in your document root, or
htdocsfolder as theOracleConnect.phpfile.
- You can test whether program works by using the following URL in your browser. You should see a success message if everything works in the rendered browser page.
![]()
Verify MySQL Connection with PHP ↓
This section shows you how to verify that you can connect to an MySQL database by using PHP.
- If you skipped the prior section, you need to know where to put your files so that the Apache web server can find them. You put them in the Apache document root, which is defined in the
httpd.conffile. The default location is:
![]()
- You write the following PHP file to confirm that you can connect to a MySQL database.
1 2 3 4 5 6 7 8 9 10 11 12 13 14 15 16 17 18 19 | <html> <head> <title>My MySQL Connection Confirmation Page</title> </head> <body> <?php // Attempt to connect to your database. $c = @mysqli_connect("localhost", "student", "student", "sampledb"); if (!$c) { print "Sorry! The connection to the database failed. Please try again later."; die(); } else { // Initialize a statement in the scope of the connection. print "Congrats! You've connected to a MySQL database!"; } ?> </body> </html> |
- Save the file in your document root, or
htdocsfolder as theMySQLConnect.phpfile.
- You can test whether program works by using the following URL in your browser. You should see a success message if everything works in the rendered browser page.
![]()
Hope this helps you anticpate the installation.

In the section “Verify MySQL Connection with PHP” on step 2 it says, “…to confirm that you can connect to an Oracle database.” I think that should be “MySQL database” and not “Oracle database”.
Duston Turner
29 Mar 10 at 7:12 pm
Right, is should have and now does.
michaelmclaughlin
29 Mar 10 at 9:47 pm
Zend installed without a problem, but when I try to access localhost nothing ever loads. Is this a configuration error on Zend or my operating system?
Chris Hepworth
4 Apr 13 at 6:25 pm
Chris, That tends to be a configuration issue of the local operating system.
michaelmclaughlin
18 Mar 14 at 11:15 am
Excellent post. I will be dealing with some of these issues as well..
alennuskoodeja
8 Jan 17 at 10:47 am