Install MySQL 5.1
You can download the MySQL software here. You should choose MySQL 5.1 GA (Generally Available) release. It is the most stable release as a rule that doesn’t require a costly license.
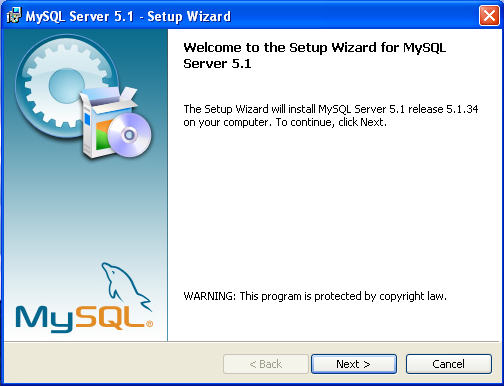
- After you download an Microsoft Software Installation (MSI) file or the zip file, you launch the installer by clicking the Next button:
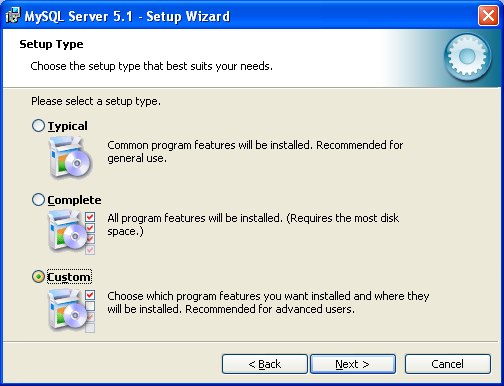
- If you want to install only one copy of the software at any given time, you can accept the default Typical radio button choice. This way, you can simply uninstall the software before you install a new version. When you want to install multiple versions on a single machine, you should check the Custom radio button. This choice lets you maintain multiple versions on your single development machine and check changes between releases. After choosing a direction, you click the Next button to continue.
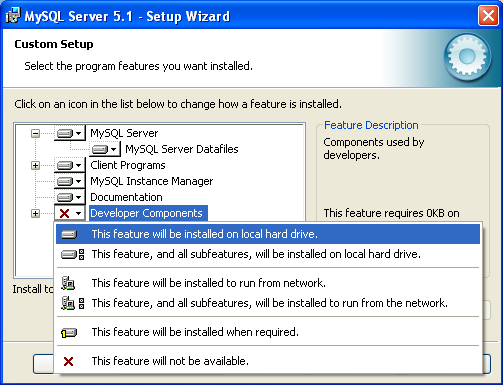
- The first thing you should do is upgrade the Developer Components. You do that by clicking on the down arrow to the right of the X, which yields the context menu below. Place your mouse over the top most This feature will be installed on local hard drive. After that you can begin to customize the installation.
- This is a step that you’ll see when you opt to do a Custom installation. It is important that you click the Change button and change the default directory for the installation. When you click the Change button it will launch a File Finder window.
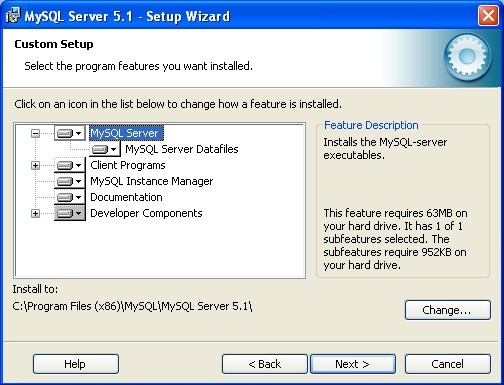
- You can put the files anywhere you choose but I’d recommend that you opt to use something like this directory path:
C:\Program Files\MySQL 5.1\MySQL Server 5.1\ |
As you’ll see in the screen shot mine is slightly different because my virtual Windows XP machine is a 64-bit operating system. That’s why you’ll see the (x86) as part of the Windows Program Files directory path. It indicates that MySQL will be installed in the 32-bit executable folder. You click the OK button to accept the chosen directory and return control back to the MySQL installation program.
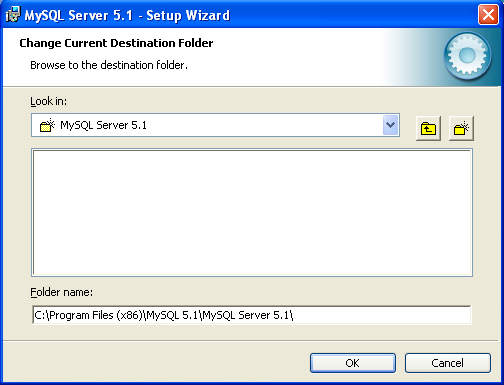
- The choice of your file directory is now displayed below the caption Install to:, and you click the Next button to continue.
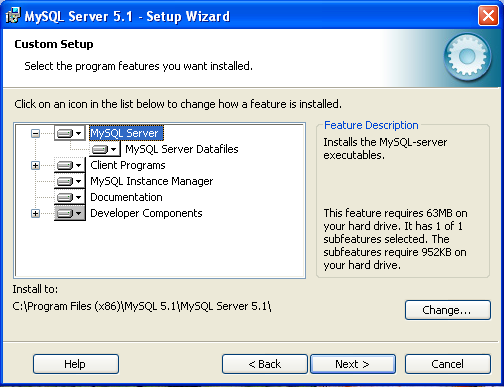
- Before you click that Next button, you have one more step if you plan on having multiple instances installed on your machine. You need to change the default storage location for data files. You do that by clicking on the MySQL Server Datafiles. When you click on that, you’ll see the following default file location below the caption Install to:
C:\Documents and Settings\All Users\Application Data\MySQL\MySQL Server 5.1\ |
You click the Change button to enter another location for the database files.
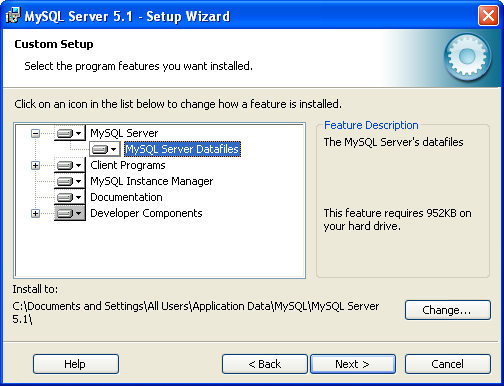
- After you click on Change button, you’ll see the File Finder. You can then enter the directory that you’d prefer for the installation. My suggestion is the following:
C:\Data\MySQL 5.1\MySQL Server 5.1\ |
Click on the OK button to complete the selection of a customized database file location.
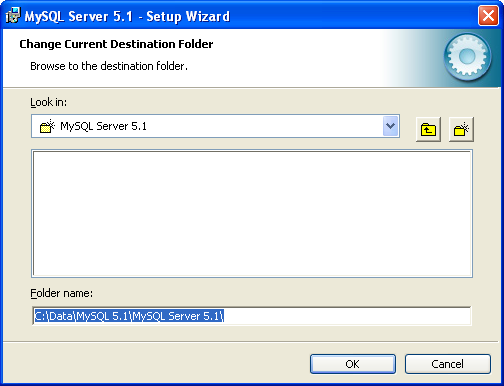
- You should now see the wizard screen again. Choose the Next button to continue.
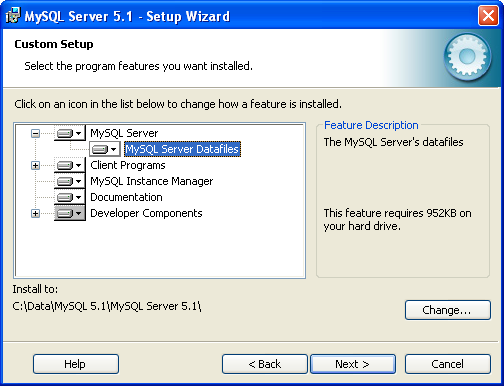
- This is the screen where you see what you’re about to do, before you do it. It should look like this if you’re following my instructions or like whatever you’ve opted to use in your installation. Click the Install button to begin the installation.
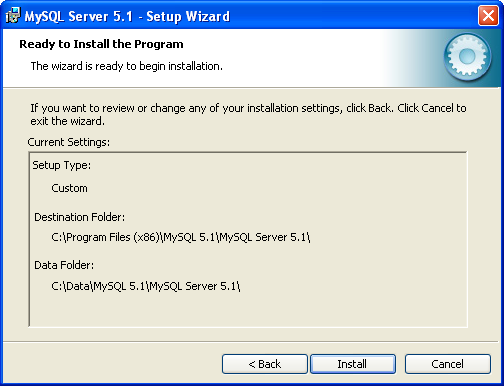
- The installation starts and you’ll see a dialog with a creeping status bar. It should take about 2-3 minutes on many computers but it may seem longer.
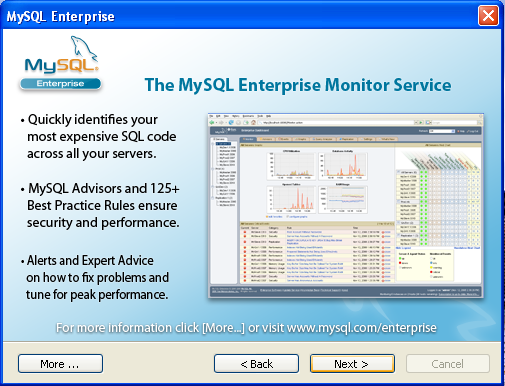
After the status bar, you’ll see the following marketing screen. Click the Next button to continue.
- The second marketing dialog then shows up, just click the Next button to continue.
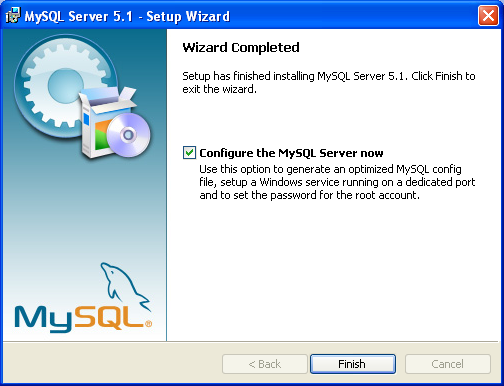
- The installation is now complete. You should ensure you’ve checked the Configure the MySQL Server now box. Click the Finish button to end the installation of the file system and begin the configuration of the MySQL server.
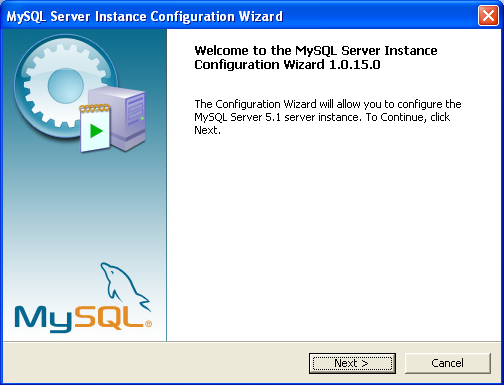
- The next dialog is the configuration welcome. Click the Next button to continue.
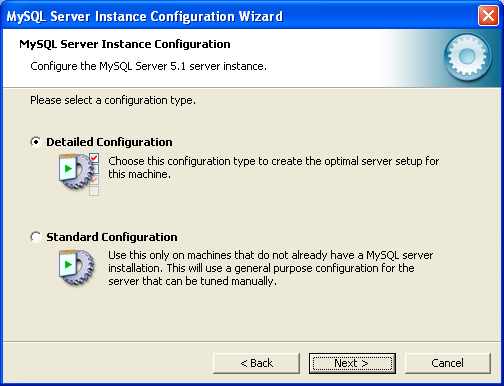
- This is an important dialog because you must choose between a Standard or Detailed configuration. You should check the Detailed radio button When you plan to install more than one MySQL version on your computer because you’ll need to control the listening port for the server. A default MySQL Sever installation sets the listening port at 3306. Typically, you’ll want the main version to run on port 3306 and set the other versions to 3307, 3308, et cetera.
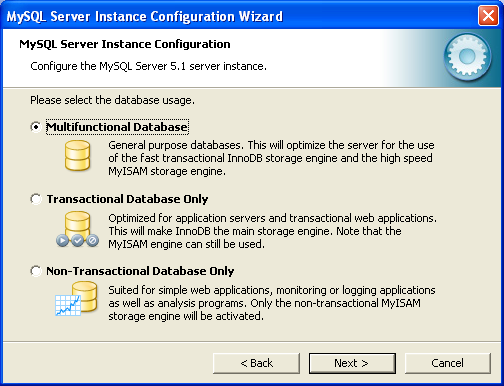
- This dialog lets you choose how to configure performance characteristics of your MySQL Server. As you become more skilled at MySQL, you’ll find that these are configurable in a file, but for now using the interface is probably your best bet. The choice you make here sets how much memory MySQL will take while running. Typically, you should choose Developer Machine unless this is a server installation or you have a log of extra memorty to dedicate to MySQL Server (that’s the mysqld process).
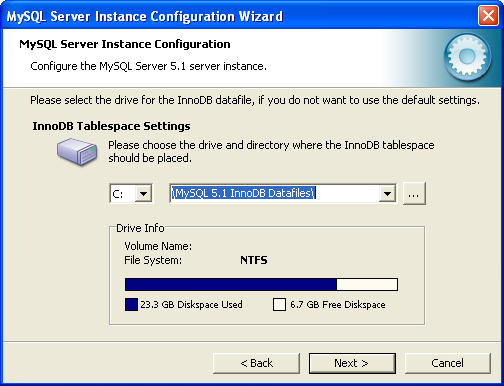
- This dialog lets you configure the Inno DB files location. You should make sure that you ensure they’ll be different if you’re installing multiple releases. You click the drop down arrow for the Installation Path box, choose one and manually edit it, like shown for MySQL 5.1.
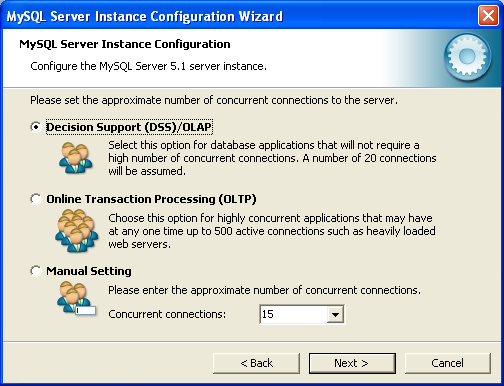
- This dialog governs configuration parameters about concurrency. If this is for a developer machine click the Decision Support (DSS)/OLAP radio button. It generally gives you more than enough connections for development activities.
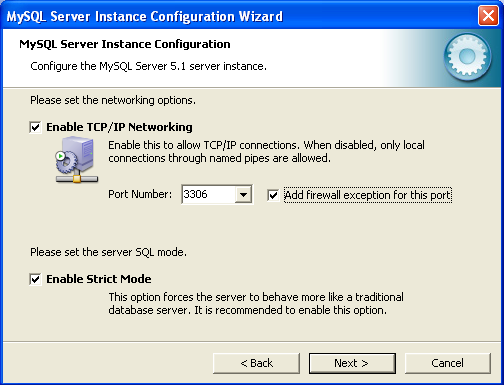
- This is the dialog where you enable a firewall exception and set a port. Since MySQL 5.1 is my main testing environment, port 3306 (the default) is selected. You also want to enable both check boxes.
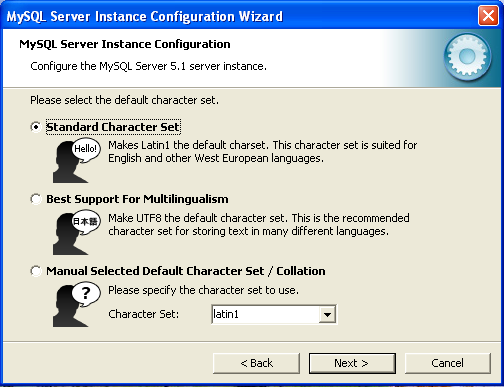
- This dialog lets you choose a multiple byte unicode character set or the standard
latin1. For those coming from an Oracle world, that’sWEISO8859-1character set.
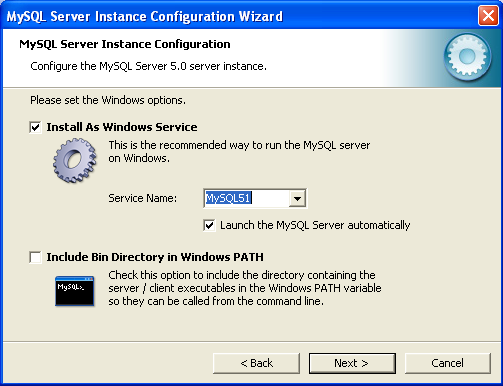
- This dialog names your Microsoft Windows Service for MySQL. It is important that you change this to represent the release. The default for every release is MySQL. You should also uncheck the Include Bin Directory in Windows PATH, and set that manually in a command shell file (e.g., a mysql51.bat file). You can run the batch file when you want to work in this environment. If you allow this to append to the system path, make sure you know which one you’re using when working with MySQL.
Creating a MySQL Environment Batch File ↓
A small tutorial on creating a batch file for MySQL. You need a batch file whn you don’t select Include Bin Directory in Windows PATH because otherwise you can’t find the mysql executable.
Assuming you followed my instructions, you’ve decided not to have only a single installation of MySQL. Now you need to decide where you want to store your script files for MySQL. Let’s assume that you choose the C:\Data\MySQL directory.
You now need to create an environment script file. It’s purpose is to let you define a different %PATH% inside an operating system command shell. The name of the batch file must differ from the target executable. If you use the same name the batch file as the target program, you will simply call the batch file instead of the target program file. It calls itself because the operating system looks for a mysql program file (*.BAT, *.COM, *.EXE) in the present working directory before it checks the %PATH% environment variable for other locations to search. The search starts at the beginning of the %PATH% environment file, which means you want to prepend your override locations in the %PATH%.
You can create a batch file from the command-line or in any editor of choice. The file extension in Windows should be *.BAT (but after all Windows is case-insensitive). The following shows you how to create it from the command-line because you probably already know how to do it in an editor:
C:\Data\MySQL> COPY CON MySQL51.bat SET PATH=C:\Program Files\MySQL51\MySQL Server 5.1\bin;%PATH% ^Z |
After you create the batch file, you can call the command-line interface of MySQL, like
C:\> mysql |
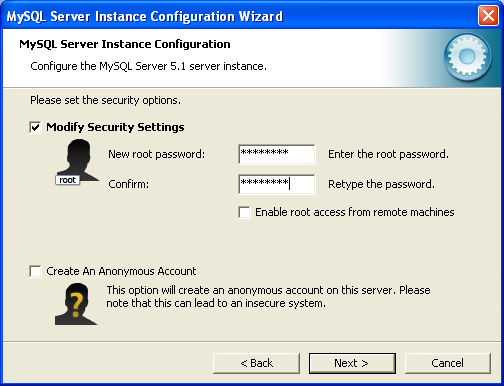
- This dialog sets the root password. My advise is that you leave unchecked the Create An Anonymous Account and the Enable root access from remote machines boxes. Make sure you use a password that you can remember, even if it is your personal machine.
- You’re almost done. The next dialog confirms you want to configure MySQL. Click the Execute button to configure the server.
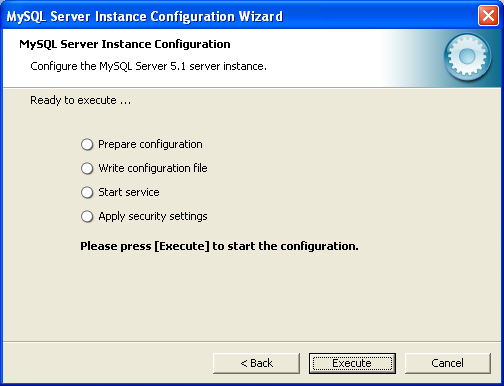
After the configuration, you’ll see the following dialog. It means you’re done.
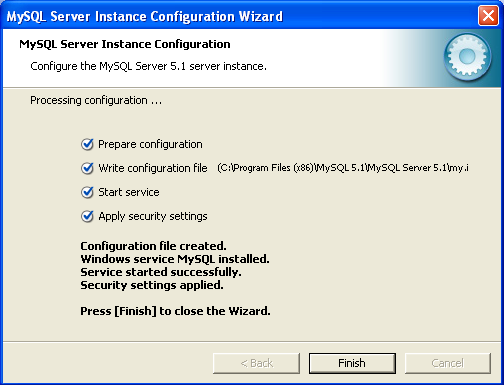
- If you encounter a failure starting the service, it’s not infrequent in any number of MSI files. I wrote another post on how to work around it here. The following is the error screen that may occur.
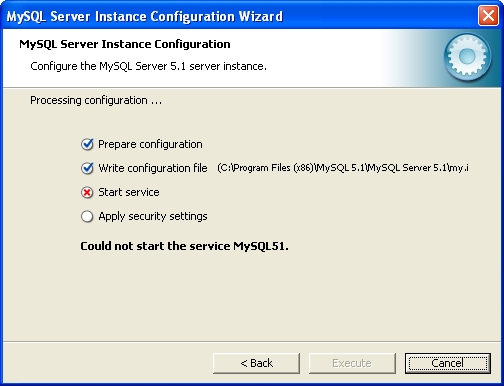
This concludes your installation of MySQL.
Thanks for installation wizard given. In case check of cross Start Service button then what should be do? Please tell me as soon as possible.
Abdul
7 Apr 10 at 9:45 pm
There’s a link on that page to this older blog post. Click this link to a blog post that describes how to fix the problem.
michaelmclaughlin
10 Apr 10 at 5:53 pm
Thanks for the wizard, but I had trouble understanding how to create the environmental batch file. If you could clarify this further I would appreciate it. Thank you,
Ethan
Ethan
20 Apr 10 at 11:57 am
We’re working on a movie.
michaelmclaughlin
21 Jun 10 at 10:28 pm
Thank you for this tutorial, but is there one on how to get this working on a mac os? I’d really appreciate one.
Thanks
Bart
9 Sep 10 at 7:23 pm
MySQL is already installed on most Mac OS X installations. As covered in class, only the Windows versions are supported by our tutors and lab assistants. Oracle does not install on Mac OS X, only on Mac OS X, version 10.6. The best I have is how to configure to work in Windows on the databases installed on a VM, which you’ll find here. MySQL configuration on your Mac OS X is something that I can look at but there’s a MAMP installation post that may help you for the moment.
michaelmclaughlin
10 Sep 10 at 12:40 am
We are asked to install mySQL 5.1 correct? Following the link you have provided, the most similar that I can find is a community server (MySQL Community Server 5.16.15). Is that what you are looking for?
Rob Schwarze
7 Jan 14 at 11:16 am
Actually, that’s an old web page. The current release is installed on the Fedora image.
michaelmclaughlin
22 Oct 14 at 1:12 am
hopefully there is Linux guide, specifically on ubuntu
ja
22 Jan 15 at 7:23 pm
Ja? I don’t really do much on Ubuntu because the client to server differ so much. However, I do have notes for installing MySQL on Fedora. Let me know if they help you?
michaelmclaughlin
26 Jan 15 at 2:43 am
I am really confused. Do we need version 5.1 or the latest one because I can’t find 5.1 at the link specified.
Will Johnson
21 Apr 16 at 8:10 pm
No, those are old pages. Everything is now part of the self-contained image.
michaelmclaughlin
29 Apr 16 at 1:57 am