Instructions
Learn how to use the LAMP (Linux, Apache, MySQL, and PHP, Perl, or Python) stack. This particular example uses a MySQL database and PHP Programming Language.
- Lab
- Description
- Help Section
- Instructions
Lab Instructions
This lab has four unit testing steps placed into one test script.
[10 points] Click the Lab Instructions link to open the instructions inside the current webpage.
Lab Instructions →
You begin these steps after running the following script:
- [3 points] Prepare the MySQL database by installing the Video Store data model and populating it with data.
You learn how to connect to the MySQL database and how to run the necessary script files to populate the video store model.
Instruction Details →
You should use the following instructions to connect to the MySQL database, create the ten tables of the video store, and populate the ten tables with data.
- You open a Terminal session as the student user and connect to the studentdb database with the following syntax:
mysql -ustudent -p -Dstudentdb
Enter the
studentuser’s password, which isstudent. You should see the following mysql prompt:Reading table information for completion of table and column names You can turn off this feature to get a quicker startup with -A Welcome to the MySQL monitor. Commands end with ; or \g. Your MySQL connection id is 3 Server version: 5.7.22 MySQL Community Server (GPL) Copyright (c) 2000, 2018, Oracle and/or its affiliates. All rights reserved. Oracle is a registered trademark of Oracle Corporation and/or its affiliates. Other names may be trademarks of their respective owners. Type 'help;' or '\h' for help. Type '\c' to clear the current input statement. mysql>
- Once connected to the MySQL
studentdbdatabase, you run the files to create and seed the database, like:mysql> source /home/student/Data/cit225/mysql/lib/create_mysql_store_ri2.sql mysql> source /home/student/Data/cit225/mysql/lib/seed_mysql_store_ri2.sql
- You verify the
studentdbtables with the following command:mysql> show tables;
+---------------------+
| Tables_in_studentdb |
+---------------------+
| address             |
| common_lookup       |
| contact             |
| contacts            |
| current_rental      |
| item                |
| member              |
| rating_agency       |
| rental              |
| rental_item         |
| street_address      |
| system_user         |
| telephone           |
+---------------------+
13 rows in set (0.00 sec)
- [3 points] Add the
item_descanditem_blobcolumns to theitemtable, using the following specification:
| Table Name: ITEM | |||||
|---|---|---|---|---|---|
| Column Name | Constraint | Data Type |
Physical Size |
||
| Type | Reference Table | Reference Column | |||
| ITEM_DESC | TEXT | ||||
| ITEM_BLOB | MEDIUMBLOB | ||||
Instruction Details →
The ALTER TABLE statement differs from what you would do with an Oracle database.
You add the item_desc and item_blob columns with the following query:
ALTER TABLE item ADD (item_desc TEXT, item_blob MEDIUMBLOB); |
You can then describe the new table with the following syntax (and the colon is not optional):
describe item; |
It should show the following:
+-------------------+------------------+------+-----+---------+----------------+ | Field | Type | Null | Key | Default | Extra | +-------------------+------------------+------+-----+---------+----------------+ | item_id | int(10) unsigned | NO | PRI | NULL | auto_increment | | item_barcode | char(18) | NO | | NULL | | | item_type | int(10) unsigned | NO | MUL | NULL | | | item_title | char(60) | NO | | NULL | | | item_subtitle | char(60) | YES | | NULL | | | item_rating_id | int(10) unsigned | NO | MUL | NULL | | | item_release_date | date | NO | | NULL | | | created_by | int(10) unsigned | NO | MUL | NULL | | | creation_date | date | NO | | NULL | | | last_updated_by | int(10) unsigned | NO | MUL | NULL | | | last_update_date | date | NO | | NULL | | | item_desc | text | YES | | NULL | | | item_blob | mediumblob | YES | | NULL | | +-------------------+------------------+------+-----+---------+----------------+ 13 rows in set (0.00 sec) |
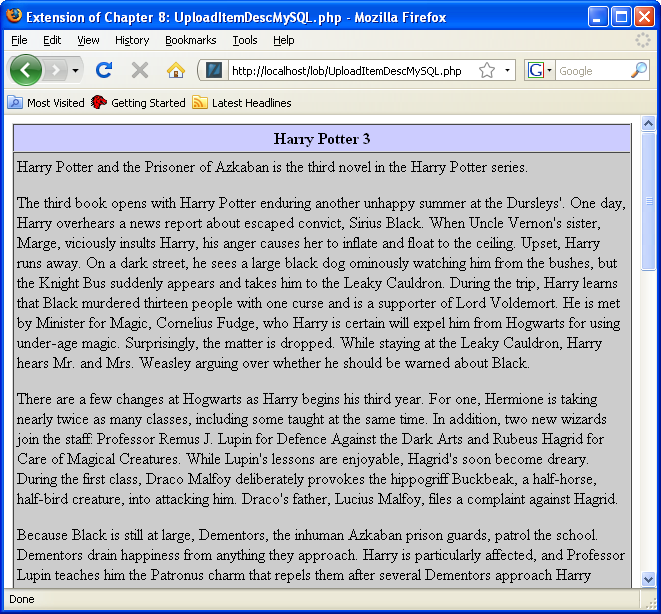
- [2 points] You can test the LAMP stack and upload of a large text file into the
item_desccolumn; and then display the large text file.
You have two steps to upload the text file:
Instruction Details →
You will test this by using the Firefox browser in the Linux instance.
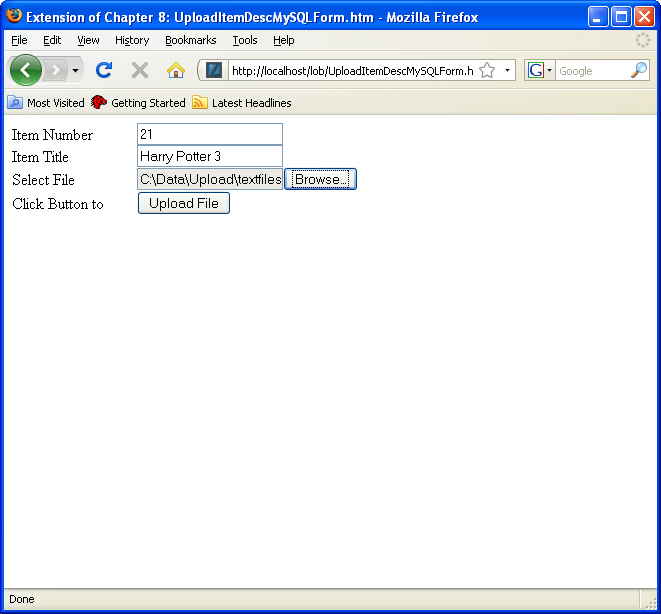
Enter the http://localhost/lob/UploadItemDescMySQLForm.htm URL, and complete the form by choosing a valid item_id column value, like 1042. You can use the Browse button to find the HarryPotter3.txt file in the /home/student/Data/cit225/mysql/client/text directory. Then, click the Upload File button.
It should display the following image:
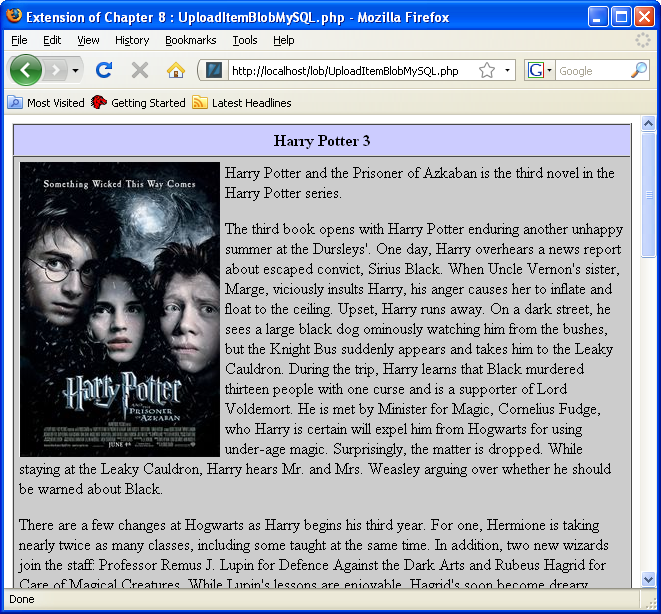
- [2 points] You can test the LAMP stack and upload of a image file into the
item_blobcolumn; and then display the image and large text file in a single web page.
You have two steps to upload the image file:
Instruction Details →
You will test this by using the Firefox browser in the Linux instance.
Enter the http://localhost/lob/UploadItemBlobMySQLForm.htm URL, and complete the form by choosing a valid item_id column value, like 1042. You can use the Browse button to find the HarryPotter3.png file in the /home/student/Data/cit225/mysql/client/image directory. Then, click the Upload File button.
It should display the following image:


